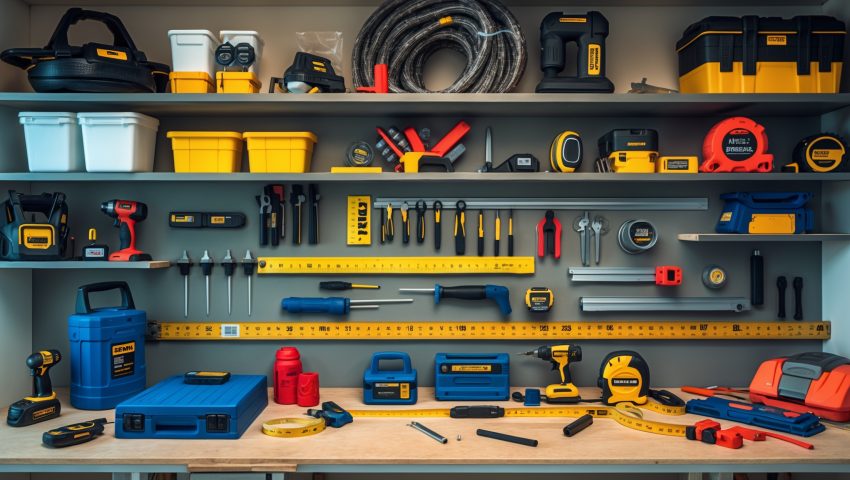
Introduction: Starting Your DIY Journey with the Right Tools
If you’re ready to tackle home improvement projects but don’t know where to start with tools, you’re not alone. The world of DIY can be both exciting and overwhelming, especially when faced with countless tool options, brands, and price points. Beginners often make the mistake of buying tool sets that either exceed their needs or overlook essential items, leading to overspending, project frustration, or worse—safety hazards. The truth is, every DIY journey starts with a thoughtful assessment of your actual needs, a clear budget, and a plan for acquiring the right tools in the right order.
This guide breaks down how to perform a homeowner’s tool audit, prioritize purchases based on real projects, and build a cost-effective, versatile starter toolkit. Whether you’re aiming to master basic repairs, start furniture upcycling, or get hands-on with more ambitious remodels, the right toolkit is your foundation. We’ll cover must-have hand tools, which power tools are truly worth the investment, smart strategies for budgeting, and tips for maintaining your collection for years to come. Let’s save you money, reduce clutter, and set you up for DIY success—one well-chosen tool at a time.
Why a Tool Audit Matters: Avoiding Common Pitfalls
Overbuying vs. Underbuying
It’s tempting to buy flashy tool sets or every gadget on sale, but many homeowners end up with drawers full of rarely used items—or find themselves missing a critical tool mid-project. Overbuying wastes money and space. Underbuying, on the other hand, can stall your progress and lead to improvising with the wrong tool, risking project quality and safety.
The Dangers of Low-Quality Tools
Inexpensive, off-brand tools can be a false economy. Stripped screw heads, broken handles, or inaccurate measuring devices can turn a simple job into a nightmare. Investing in quality for frequently used tools pays off in durability and performance.
Project Relevance
Your toolkit should reflect your actual project list. If you’re planning to build a deck in a year, but need to hang shelves and fix leaky faucets now, your initial tool investments should match those tasks—not hypothetical future ambitions.
Step 1: Assess Your Project Pipeline
Start by listing the types of projects you expect to tackle in the next 12–24 months. Examples include:
- Minor repairs (e.g., fixing door hinges, patching small holes)
- Painting and decorating
- Simple carpentry (e.g., assembling furniture, building shelves)
- Basic plumbing fixes (e.g., leaky faucets, replacing showerheads)
- Electrical basics (e.g., changing light fixtures, installing dimmers)
For each project, jot down the tools required. Look up step-by-step guides or videos if you’re unsure what’s involved. This focused approach prevents waste and ensures each purchase serves a real purpose.
Step 2: Inventory What You Already Have
Take stock of existing tools in your home, garage, or inherited toolboxes. Group them by function and condition:
- Hand tools (screwdrivers, pliers, hammers, wrenches)
- Measuring and marking tools
- Power tools (drills, sanders, saws)
- Safety gear (gloves, goggles, masks)
Test each tool for usability and safety. Discard rusted, cracked, or unsafe items. Note duplicates and gaps. This audit helps you avoid unnecessary purchases and focus your budget on true needs.
Step 3: The Core Starter Toolkit for Homeowners
Essential Hand Tools
- Claw Hammer: For driving and pulling nails, assembling furniture, and demolition.
- Adjustable Wrench: Versatile for plumbing, assembling, and occasional bolt work.
- Slip-joint and Needle-nose Pliers: For gripping, twisting, and cutting wires.
- Screwdriver Set: Phillips and flathead in several sizes, or a multi-bit driver.
- Tape Measure (25 ft): For accurate measurements in most home projects.
- Utility Knife: For opening boxes, trimming materials, and scoring drywall.
- Level (24–48”): For hanging shelves, frames, and ensuring accuracy.
- Allen Wrenches (Hex Keys): For flat-pack furniture and some fixtures.
- Handsaw: For basic wood cutting without power tools.
Entry-Level Power Tools (Prioritized)
- Cordless Drill/Driver: The most versatile power tool for drilling, driving screws, and even light mixing.
- Orbital Sander: For prepping surfaces before painting or refinishing.
- Jigsaw: For cutting curves and straight lines in wood, laminate, and some plastics.
Resist the urge to buy every power tool at once. Start with a drill/driver, then expand as your project needs evolve.
Safety Gear
- Work gloves
- Safety goggles
- Dust masks or respirators (for sanding and painting)
- Knee pads (for flooring projects)
Step 4: Smart Budgeting for Your Toolkit
Set a Realistic Budget
Starter toolkits can range from $150–$600, depending on quality and power tool inclusion. Use your project pipeline and audit to build a phased shopping list.
Prioritize Quality Where It Counts
Spend more on tools you’ll use frequently: hammer, screwdrivers, tape measure, cordless drill. For infrequent tasks, consider mid-tier brands or borrow/rent.
Where to Save
- Starter Sets: Quality starter sets (e.g., screwdriver or plier sets) often provide better value than buying individually.
- Used Tools: Estate sales, Craigslist, and local tool libraries can be goldmines for gently used hand tools.
- Refurbished Power Tools: Reputable brands offer certified refurbished options at significant discounts.
- Holiday Sales: Black Friday, Memorial Day, and Labor Day deals can cut costs—just avoid impulse buys.
Step 5: Organizing and Maintaining Your Toolkit
Storage Solutions
Invest in a sturdy toolbox or wall-mounted pegboard. Modular tool chests or stackable bins are ideal for garages and larger collections. Label drawers or pegboard outlines for quick access.
Maintenance Musts
- Wipe down tools after every use to prevent rust and buildup.
- Sharpen blades (utility knives, saws) regularly.
- Oil moving parts on pliers and wrenches quarterly.
- Store power tool batteries in a cool, dry place and recharge monthly if not in use.
- Inspect cords and plugs for damage before each use.
Expanding Your Toolkit: When and How
Project-Driven Expansion
Only add new tools when a project specifically requires them. For example:
- Circular saw: For deck building or major carpentry.
- Stud finder: For mounting heavy shelves or TVs.
- Soldering iron: For advanced electrical work.
- Wet/dry vacuum: For major cleanups or renovation debris.
This approach keeps your toolkit lean, cost-effective, and relevant.
Borrowing and Renting
For one-off or specialty tools (tile cutters, power nailers, rotary hammers), consider borrowing from friends, using a local tool library, or renting from hardware stores. This saves space and money, and lets you try tools before investing.
Common Myths About DIY Toolkits—Debunked
- “You need top-of-the-line everything.”
Not true. Invest in quality for essentials, but many mid-range brands perform beautifully for occasional use. - “Buy every tool before starting DIY.”
Building your toolkit as projects arise is more cost-effective and less overwhelming. - “Corded tools are obsolete.”
Corded tools can be more powerful and budget-friendly for stationary work; cordless excels at mobility. - “Hand tools are outdated.”
Hand tools remain indispensable for precision, control, and jobs where power tools are impractical.
Toolkit Upgrades: When Is It Time?
If a tool breaks or consistently underperforms, upgrade to a more robust version. Also consider upgrades when you:
- Take on more complex or frequent projects
- Need greater efficiency (e.g., impact driver for deck screws)
- Desire ergonomic features or lighter-weight options for comfort
Donate or responsibly recycle old tools to keep your collection manageable.
Safety and Insurance Considerations
Safe Use and Storage
Always use tools as intended and wear proper safety gear. Store sharp or heavy tools out of reach of children. Unplug power tools when not in use.
Check Your Home Insurance
Some policies may require you to report home workshops or substantial tool collections. If using power tools for side gigs or freelance work, consider a rider or separate policy for liability and theft.
Conclusion: Your First Toolkit—A Foundation for DIY Success
Building your home DIY starter toolkit doesn’t have to be expensive, overwhelming, or cluttered. By auditing your actual project needs, taking stock of what you already own, and prioritizing purchases based on frequency of use and quality, you’ll assemble a toolkit that works for you—not the other way around. Remember, the best toolkit is one that’s curated, organized, and ready for action. Resist the urge to overbuy; let your projects guide your investments, and lean on borrowing or renting for specialty tasks.
Budgeting wisely ensures you’re investing in tools that will last, deliver safe and satisfying results, and fuel your DIY confidence for years to come. With every completed project, your toolkit—and your skills—will naturally expand. Stay proactive about tool maintenance, prioritize safety, and keep learning from each new challenge. Your home improvement journey starts with a single, well-chosen hammer—but it’s your thoughtful approach that builds a foundation for lifelong DIY success.