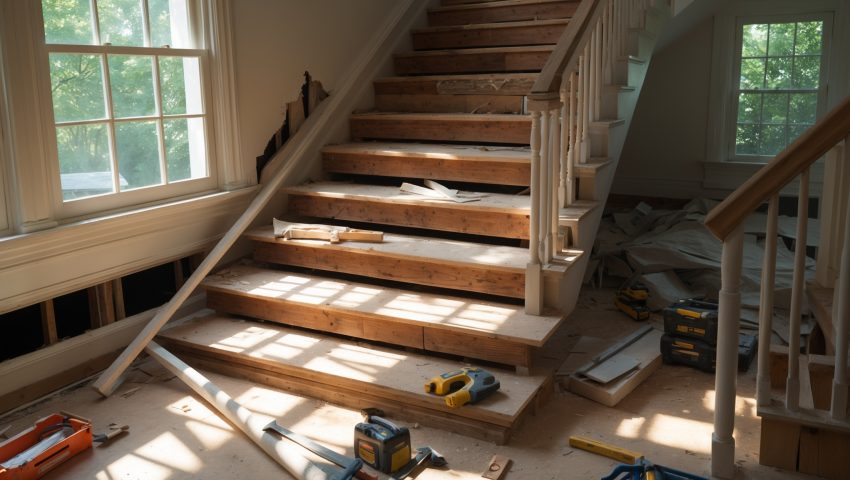
Renovating a staircase is one of those home improvement projects that looks straightforward at first glance. You imagine swapping out dated banisters, refinishing treads, or perhaps re-tiling risers to breathe new life into a high-traffic area. DIY staircase renovations can dramatically improve your home’s aesthetics and value, but they’re also notorious for going over budget—often due to hidden costs and overlooked planning steps. Many U.S. homeowners embark on these upgrades expecting a manageable expense, only to encounter financial surprises that could have been avoided with better budgeting insights.
This guide is your comprehensive roadmap to understanding and navigating the hidden costs and budgeting pitfalls of DIY staircase renovation projects. Whether you’re aiming for a simple refresh or a full teardown and rebuild, you’ll learn where money often leaks away, how to plan for the unexpected, and which budget-friendly strategies can help you achieve professional results without draining your wallet. Packed with real-world tips and practical checklists, this post will help you make informed decisions, avoid common traps, and set your staircase project up for financial—and aesthetic—success.
Understanding the True Scope of DIY Staircase Renovations
Assessing Your Existing Staircase
Before picking up a single tool or purchasing materials, conduct a thorough assessment of your current staircase. Many budgeting pitfalls stem from underestimating the scope of work or failing to spot structural and code issues that could escalate costs mid-project.
- Structural Soundness: Check for creaking, sagging, or loose parts. Hidden rot, termite damage, or substandard framing may require significant repairs.
- Materials and Construction: Identify which parts are solid wood, plywood, MDF, or previously renovated with non-standard materials. Material compatibility affects both budget and technique.
- Building Code Compliance: Measure riser heights, tread depths, and railing heights. U.S. codes vary by state and municipality, and non-compliance can mean costly rework or even fines.
- Access and Safety: Consider how the renovation will impact daily use of the staircase. Will you need to create temporary access to upper floors or plan for family/work disruptions?
Defining Your Renovation Goals
Set clear priorities for what you want to accomplish. Are you aiming for a cosmetic facelift, improved safety, or a full structural overhaul? Each goal has vastly different cost implications:
- Cosmetic Upgrades: Repainting, re-carpeting, or swapping out balusters are relatively affordable and low risk.
- Structural Repairs: Replacing treads, risers, or stringers adds complexity, labor, and material costs.
- Complete Redesign: Moving the staircase, opening up walls, or changing the layout can trigger permit requirements, hefty demolition, and unforeseen expenses.
Hidden Costs: Where Budgeting Goes Sideways
Demolition and Disposal
Removing old carpet, wood, tile, or metalwork can reveal issues like water damage, mold, or subfloor problems. Disposal fees for bulky or hazardous materials (like lead-painted wood or asbestos-containing adhesives) can be significant.
- Dumpster Rental: $250–$500 per week, depending on your location and load size.
- Hazardous Waste Disposal: Specialized removal can add $200–$1,000 or more, especially in older homes.
Permits and Inspections
Many municipalities require permits for structural changes, railing modifications, or even major cosmetic upgrades. Failing to secure these can lead to fines or issues when selling your home.
- Permit Fees: $50–$400+, varying by city and scope.
- Inspection Fees: Sometimes bundled with permits, or separate ($50–$200 per inspection).
Specialized Tools and Equipment
While you may already own basic DIY tools, staircase renovations often require specialty equipment:
- Stair Tread Jigs: $30–$80, essential for precise cuts.
- Heavy-Duty Sanders: $50–$150 per rental day for drum or edge sanders.
- Finish Nailers, Compressor: $100–$300 for purchase; rentals available.
- Personal Protective Equipment (PPE): Respirators, safety goggles, gloves—often overlooked until needed ($30–$100 total).
Material Overages and Waste
Staircases rarely feature perfectly standard dimensions. Expect to purchase extra treads, risers, or balusters to account for mistakes, off-cuts, or color matching.
- Lumber Overages: Buy at least 10–15% extra to account for defective boards or miscuts.
- Finish Materials: Stains, paints, or finishes may need multiple coats; always round up to avoid batch mismatches.
Fasteners, Adhesives, and Hardware
It’s easy to overlook the cumulative cost of screws, construction adhesive, brackets, or connector hardware. These can add $50–$200+ depending on staircase size and design.
Unexpected Repairs and Code Updates
Opening up your staircase may reveal:
- Non-compliant riser heights or handrail gaps
- Hidden water or termite damage
- Loose or failing structural connections
Budget a contingency of at least 15–20% above your initial estimate for surprises.
Finishing Touches
- Custom stain matching or higher-end finishes
- Decorative balusters or newel posts
- Trim, caulking, and detail work
These small upgrades can quickly escalate total costs if not tracked from the outset.
Common Budgeting Mistakes (and How to Avoid Them)
1. Underestimating Project Timeline
DIY staircase projects often take longer than expected, especially when juggling family life or work. Extended timelines may mean extra tool rentals, repeated material runs, and more disruption than planned.
2. Skipping the Contingency Fund
Many homeowners budget only for visible materials and tools. Failing to set aside a contingency fund is the leading cause of mid-project financial stress.
3. Ignoring Permit and Code Requirements
Assuming a staircase project is “just cosmetic” can result in unpermitted work, fines, or failed inspections, all of which add to total costs and headaches. Always check with your local building department before starting.
4. Choosing the Wrong Materials
Opting for the cheapest materials often leads to premature wear, safety issues, or the need for costly rework. Vet all products for durability, code compliance, and suitability for stair use.
5. Overlooking Hidden Damage
Don’t assume your stairs are sound beneath the surface. Probe for soft spots, loose connections, or previous DIY “patch jobs” that may require professional attention.
6. Not Accounting for All Tools
Borrowing or renting tools can save money, but forgetting about consumables (blades, sandpaper, adhesives) adds unexpected costs. Create a detailed tool and consumables list before purchasing anything.
Realistic Cost Breakdown for a Typical U.S. DIY Staircase Renovation
| Expense | Low-End | High-End |
|---|---|---|
| Demolition & Disposal | $150 | $1,000 |
| Permits & Inspections | $50 | $500 |
| Basic Materials (treads, risers, paint/stain) | $400 | $2,500 |
| Hardware & Fasteners | $50 | $200 |
| Tools & Equipment (purchase/rental) | $100 | $700 |
| Finishing Touches (trim, custom balusters, etc.) | $100 | $1,000 |
| Contingency (15–20%) | $120 | $1,000+ |
| Total Estimated Range | $970 | $6,900+ |
Note: Complex layouts, historic homes, or high-end finishes can push costs even higher. Always tailor estimates to your specific project scope and regional pricing.
Budget-Smart Strategies for a Successful DIY Staircase Renovation
1. Meticulous Planning and Measurement
Take the time to measure every component twice. Draw up detailed plans and, if possible, create a material cut list to minimize waste.
2. Source Materials Wisely
- Check local lumberyards or specialty stair parts suppliers for bulk pricing or offcuts.
- Consider reusing or refinishing existing components to save money—original newel posts or balusters can often be updated with paint or stain.
- Look for seasonal sales or discount codes for finish materials and hardware.
3. Rent, Don’t Buy, Specialty Tools
Most home improvement stores offer affordable rental options for sanders, nailers, or specialty saws. Reserve rentals for periods when you’re ready to work intensively.
4. Build a Realistic Timeline
Break the project into phases: demo, prep, installation, finishing. Schedule tool rentals and material deliveries to avoid downtime and extra fees.
5. Set Aside a Contingency Fund
Reserve at least 15–20% of your total budget for unexpected expenses. If unused, it can be applied to finishing upgrades or saved for maintenance.
6. DIY Where Practical, Call Pros When Needed
Tackle cosmetic upgrades and straightforward repairs yourself, but don’t hesitate to call in professionals for structural repairs, code compliance, or hazardous material removal.
Step-By-Step Budgeting Checklist
- Assess Scope: List all tasks and required materials.
- Get Quotes: Price out materials, rentals, and disposal ahead of time.
- Check Codes: Confirm local permit and code requirements.
- Inventory Tools: Identify which tools you own, can rent, or need to borrow.
- Estimate Waste: Add 10–15% to materials for overages.
- Plan Timeline: Map out each phase to reduce rental overlap and downtime.
- Budget for Contingency: Set aside emergency funds.
- Track Every Expense: Use a spreadsheet or app to monitor spending in real-time.
Case Study: Avoiding a Budget Blowout
Consider the experience of a Maryland homeowner who planned a $2,000 DIY staircase facelift—only to discover water-damaged treads, non-compliant handrail heights, and hidden termite activity. Permit fees, professional repair help, and material overruns pushed the final cost to nearly $5,000. What could have helped?
- Early structural inspection—catching hidden damage before demo
- Upfront permit research—factoring in time and cost
- Adding a 20% contingency fund
- Tracking all receipts and adjusting plans when overruns became apparent
The result? A safe, code-compliant, attractive staircase—and a hard-learned lesson about the value of thorough planning and realistic budgeting.
Conclusion: Planning for Success—And Savings
DIY staircase renovations can be a deeply rewarding way to update your home, increase its value, and showcase your handiwork. But too often, what starts as a weekend project balloons into a months-long, budget-busting headache. Hidden costs lurk in demolition, disposal, code compliance, tool rentals, and finishing details. Underestimating time, skipping contingency funds, or missing permit requirements can all add hundreds—or thousands—of dollars to your bottom line.
The key to a successful—and affordable—DIY staircase renovation in the U.S. is knowledge and preparation. Assess your current stairs thoroughly, define clear project goals, and research every step before making purchases. Build a detailed cost breakdown, including generous allowances for overages and surprises. Rent tools strategically, source quality materials, and don’t hesitate to seek professional help for structural or code-related challenges. Most importantly, track every expense along the way and adjust your plan as needed to stay on budget.
With careful planning and realistic expectations, you can transform your staircase without financial regret. Let your budget guide your creativity, not limit it—and turn a potential money pit into a project you’ll be proud of for years to come.