Introduction: Why Permit Inspections Matter in U.S. DIY Home Remodels
Completing a home improvement project on your own is a thrill—until the paperwork and inspections start rolling in. For U.S. homeowners tackling everything from kitchen updates to full-room additions, navigating permit inspections can feel intimidating. Yet, these inspections aren’t just bureaucratic hurdles; they’re there to ensure your project is safe, up to code, and eligible for insurance coverage down the road. Surviving—and thriving—during these checks is possible with the right preparation and a clear understanding of what inspectors look for. This guide demystifies the process, walking you through exactly how to prepare for residential permit inspections, what to expect at each stage, and how to avoid the most common pitfalls DIYers face. Whether you’re opening up a wall or upgrading electrical systems, you’ll gain practical, step-by-step advice to keep your remodel on track and your interactions with inspectors stress-free.
Understanding the Inspection Process: When and Why It Happens
What Is a Permit Inspection?
Permit inspections are official checks performed by city or county officials to verify that your home improvement project complies with local building codes and safety regulations. These inspections are required for most structural, electrical, plumbing, or mechanical changes.
Typical Inspection Timeline
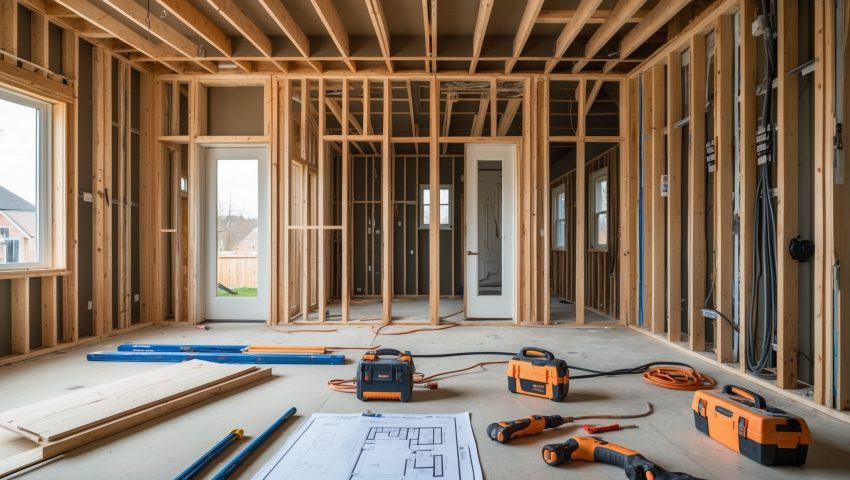
- Rough-In Inspections: After framing, electrical, plumbing, or HVAC work is in place but before walls are closed.
- Final Inspection: When the project is complete, including finishes and fixtures.
- Specialty Inspections: For work like gas lines, roofing, or fire safety.
Why Inspections Are Crucial
- Protects your safety and that of future occupants.
- Ensures compliance with local laws, avoiding fines and forced rework.
- Validates your project for homeowner’s insurance and future resale.
Step 1: Know Your Local Code and Permit Requirements
How to Find the Right Information
Start by visiting your city or county building department’s website or office. Look for guides on residential permits—many municipalities post checklists and code summaries for common projects. If in doubt, call and ask to speak with a permit technician.
Common Projects That Require Inspections
- Structural changes (removing or adding walls, additions)
- Electrical upgrades (new circuits, rewiring, service panels)
- Plumbing changes (moving fixtures, adding bathrooms)
- HVAC modifications
- Roof replacements, window and door changes
- Major exterior work (decks, porches, fences in some areas)
Don’t Skip This Step
Unpermitted work can stall a sale, void insurance, or even require demolition. Always check—even for projects that seem minor.
Step 2: Plan and Document Your Work
Prepare Detailed Plans
Most jurisdictions require a set of plans showing what you’re building or altering. Include:
- Floor plans with dimensions
- Electrical, plumbing, and mechanical layouts
- Material specifications
- Structural details (if removing or adding walls)
Keep a Project Log
Maintain a binder or digital folder with:
- Permit paperwork
- Receipts for materials (especially for critical components like wiring or pipes)
- Manufacturer installation instructions
- Photos of work at each stage
This record can resolve disputes and confirm compliance during inspections.
Step 3: Schedule Inspections Strategically
Book at the Right Stage
Inspections must occur before certain phases are covered up (e.g., before drywall over wiring). Refer to your permit documents for required checkpoints.
How to Schedule
- Most cities now offer online scheduling portals.
- Some allow phone or in-person requests.
- Book 24-48 hours in advance; plan for morning or afternoon windows.
Pro Tip: Batch Inspections When Possible
If your project involves multiple trades (e.g., electrical and plumbing), coordinate so both are ready for inspection at the same time. This minimizes wait times and keeps your project moving.
Step 4: Prep Your Site for Inspection
Present a Safe, Accessible Work Area
- Clear pathways and remove debris.
- Ensure ladders and temporary stairs are secure.
- Label circuits, shut-offs, or unique features.
- Open walls, floors, or panels as needed so all work is visible.
Have Documentation Ready
- Permit and approved plans (printed or digital)
- Inspection card (if required)
- Product specs or installation guides for unfamiliar materials
Common Misses to Avoid
- Covering work before inspection is approved
- Not being present for the inspector’s questions
- Missing required paperwork
Step 5: What Inspectors Look For—A Room-by-Room Breakdown
Framing & Structural
- Correct lumber size and spacing
- Approved fasteners and connectors
- Headers properly installed above openings
Electrical
- Proper wire gauge and connections
- Box fill limits not exceeded
- GFCI and AFCI protection where required
- Secure cable stapling and support
Plumbing
- Approved pipe materials and fittings
- Correct slope on drain lines
- Accessible shutoff valves
- Leak-free joints (pressure test may be required)
HVAC
- Duct sealing and support
- Sufficient returns and vents
- Combustion air and venting for gas appliances
Step 6: How to Interact with Inspectors—Do’s and Don’ts
Do:
- Greet them professionally and be ready with your documentation.
- Listen to feedback and take notes.
- Ask clarifying questions if you don’t understand a correction.
- Thank them for their time—even if you disagree with findings.
Don’t:
- Argue or become defensive.
- Attempt to hide mistakes or cut corners.
- Pressure them for a pass if requirements aren’t met.
Insider Tip: Inspectors Appreciate Honesty
If you’re unsure about a detail, share it openly. Many inspectors are happy to offer code-compliant solutions on the spot.
Step 7: Handling Corrections and Re-inspections
Common Reasons for Inspection Failures
- Improper fasteners (e.g., drywall screws instead of framing nails)
- Missing fireblocking or draft stopping
- Unsupported wiring or exposed splices
- Incorrect drain slope or venting
How to Respond to Corrections
- Get specific notes from the inspector—ask for code references if unclear.
- Make corrections promptly; don’t cover work until it’s re-approved.
- Reschedule the re-inspection as soon as fixes are complete.
Step 8: Final Inspection and Sign-Off
What’s Checked at Final Inspection
- All finishes are complete—no exposed framing or wiring.
- Fixtures, outlets, and appliances function properly.
- Smoke and CO detectors installed as required.
- Project matches approved plans.
After Passing—Keep Your Records
Get written confirmation of approval. File these with your home documents for future insurance or resale needs.
Pro Tips for a Hassle-Free Inspection Experience
- Review manufacturer specs for all installed products—they sometimes exceed code.
- Photograph work before covering it, especially in hard-to-access areas.
- Double-check that you’ve met all local amendments—some cities have stricter rules than model codes.
- Don’t rush—give yourself time to fix surprises before the inspector arrives.
Frequently Asked Questions About Permit Inspections
Can I Do the Work Myself?
In most U.S. jurisdictions, homeowners can pull permits and perform most types of work on their primary residence, but you must follow code and pass inspections.
What Happens If I Skip Inspections?
Uninspected work can result in fines, stop-work orders, legal action, and issues with insurance claims or property sales.
How Strict Are Inspectors?
Most are thorough but reasonable. Their priority is safety and compliance, not making your life difficult—but they will require corrections if something doesn’t meet code.
Conclusion: Turning Permit Inspections Into a DIY Advantage
Permit inspections may seem like a daunting part of the DIY journey, but with a strategic approach, they can become a valuable safeguard for your project. Understanding local codes, preparing meticulous documentation, and presenting finished work confidently can transform inspections from a source of anxiety into an opportunity to ensure your remodel is truly safe and lasting. Remember, most inspectors want to see you succeed—they’re there to help you catch problems before they become costly headaches. By treating the inspection process as a collaborative checkpoint rather than an adversarial obstacle, you’ll not only avoid common delays but also build credibility for future projects. From initial planning to final sign-off, each step you take in preparing for inspections adds value—not just to your property, but to your own confidence as a capable, responsible DIYer. Embrace the process, ask questions, and use inspections as a learning tool. With preparation and the right mindset, you can turn what’s often viewed as a bureaucratic hassle into one of your greatest assets on the road to a safe and successful home remodel.